Send events to an AI agent with a Grepr Agent integration
A Grepr Agent integration is a webhook endpoint that turns events from another system into AI agent investigations. Any system that can send a JSON body over HTTP can use it, such as an alerting platform, a Kubernetes event forwarder, or a script of your own. Each accepted event starts an investigation on every agent subscribed to the integration.
The integration carries a description of the payload you send. The agent reads that description alongside every event, which is what lets one agent make sense of alerts from several different systems without you writing a parser for each.
Grepr Agent integrations, along with the rest of the Grepr AI agent features, are in a closed beta. To request access, contact support@grepr.ai.
Requirements
To send events to an agent, you need:
- A Grepr API key, which you generate on the Developer page. See Authenticate your requests.
- At least one AI agent to subscribe to the integration. See Create an AI agent.
Create a Grepr Agent integration
-
On the Integrations page, next to the Grepr Agent section heading, click Add new.
-
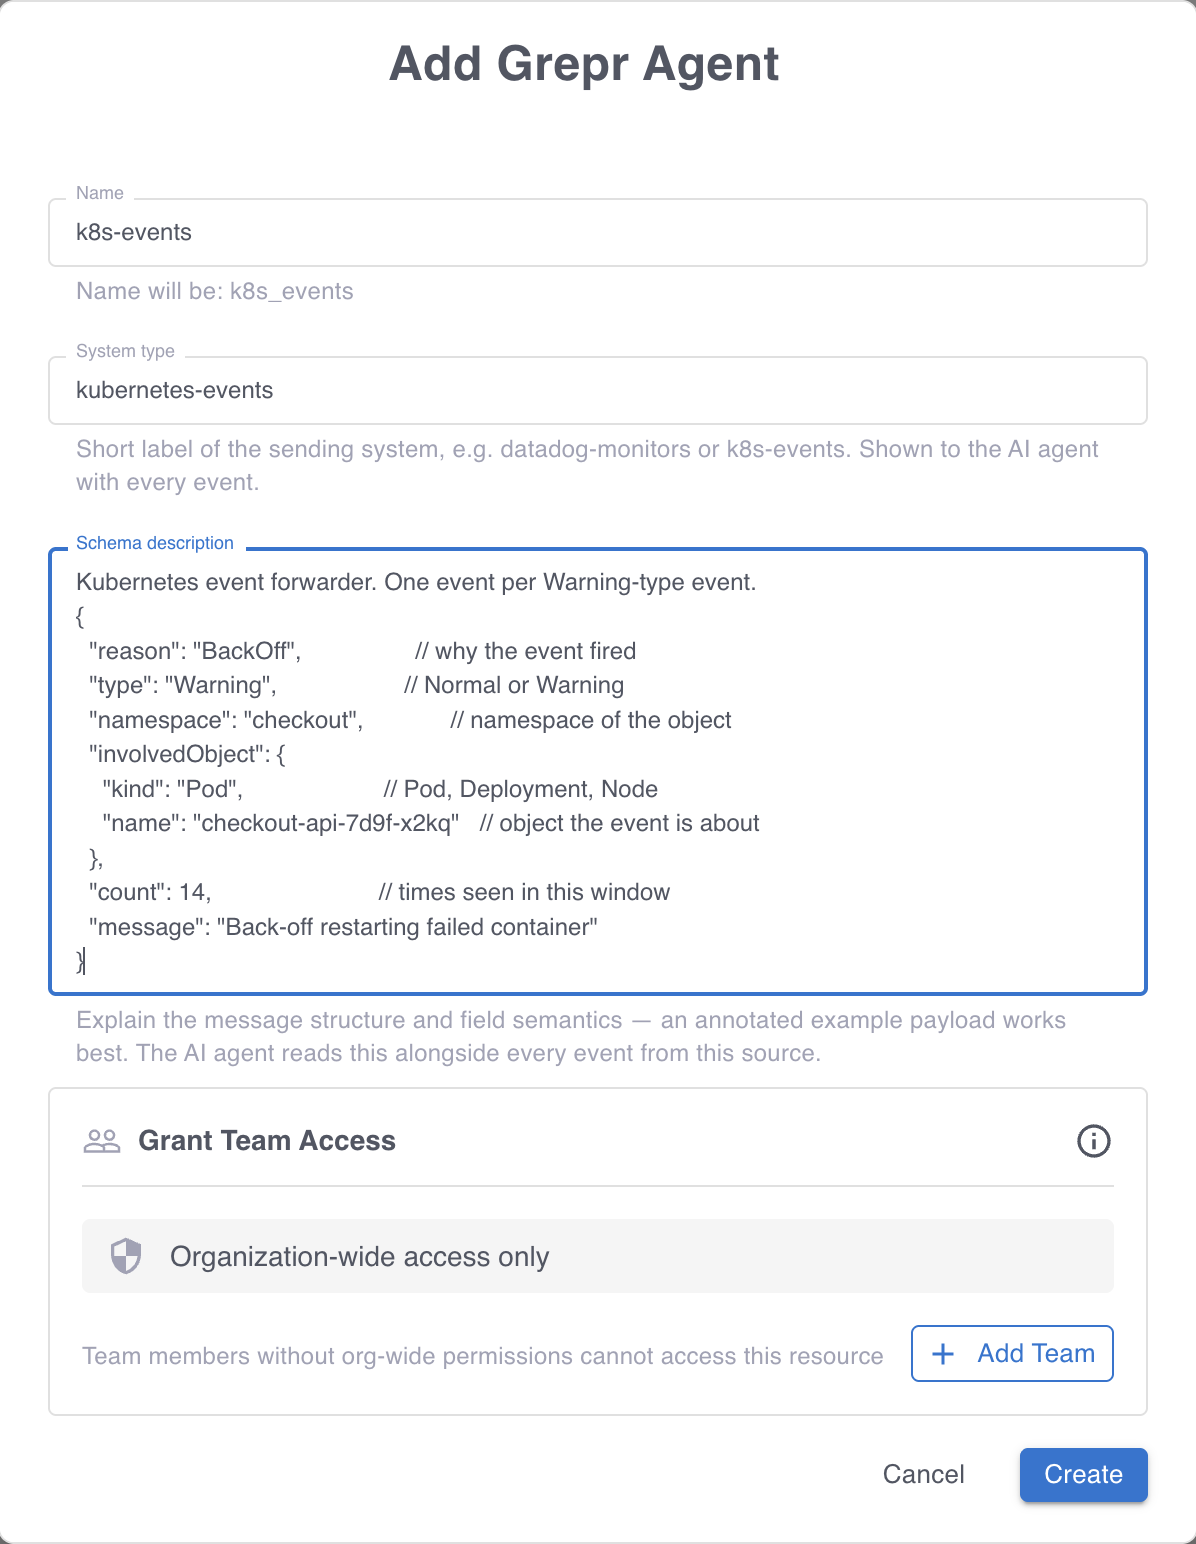
In the Add Grepr Agent dialog, complete the following fields:
Field Description Name A name for the integration, used to identify it when you subscribe an agent. System type A short label for the sending system, such as datadog-monitorsork8s-events. The agent sees this label with every event.Schema description An explanation of the payload’s structure and the meaning of its fields. The agent reads this with every event from this source. -
Click Create.
Grepr then shows the ingest URL for the integration, which is where you send your events.
Write a schema description the agent can use
The schema description is the only thing that tells the agent what the fields in your payload mean, so it decides how well the agent can reason about your events. An annotated example payload works better than prose, because it shows the structure and the meaning together:
An alert from your Datadog monitors. Fields:
{
  "alert_id": "abc123",          // stable id for the monitor
  "alert_title": "5xx rate high on checkout",
  "priority": "P2",              // P1 is highest, P5 is lowest
  "service": "checkout",         // the owning service, matches the service tag in your logs
  "env": "prod",                 // prod, staging, or dev
  "runbook": "https://wiki.example.com/runbooks/checkout-5xx",
  "triggered_at": "2026-09-21T14:03:00Z"
}
Describe the fields an agent would need to act: which field identifies the affected service, which indicates severity, and which values are expected in each. A description can be up to 16,384 characters.
To change a description later, click the three-dot menu on the integration card, select Edit, and update the Schema description field. The next event the integration receives uses the new description.
Authenticate your requests
Requests to the ingest URL authenticate with a Grepr API key sent in the GREPR-API-KEY header. Grepr identifies your organization from the key and the integration from the URL, so the sender does not supply either.
To generate a key, go to the Developer page, select API Keys, and under External Triggers API Key, click Generate. Copy the key when it appears and store it in your sending system’s secret store.
Send an event
To find the ingest URL, on the integration card, click Setup. The URL has the following form, where <integration-id> identifies the integration you created:
https://<your-org>.app.grepr.ai/api/v1/integrations/webhooks/<integration-id>/events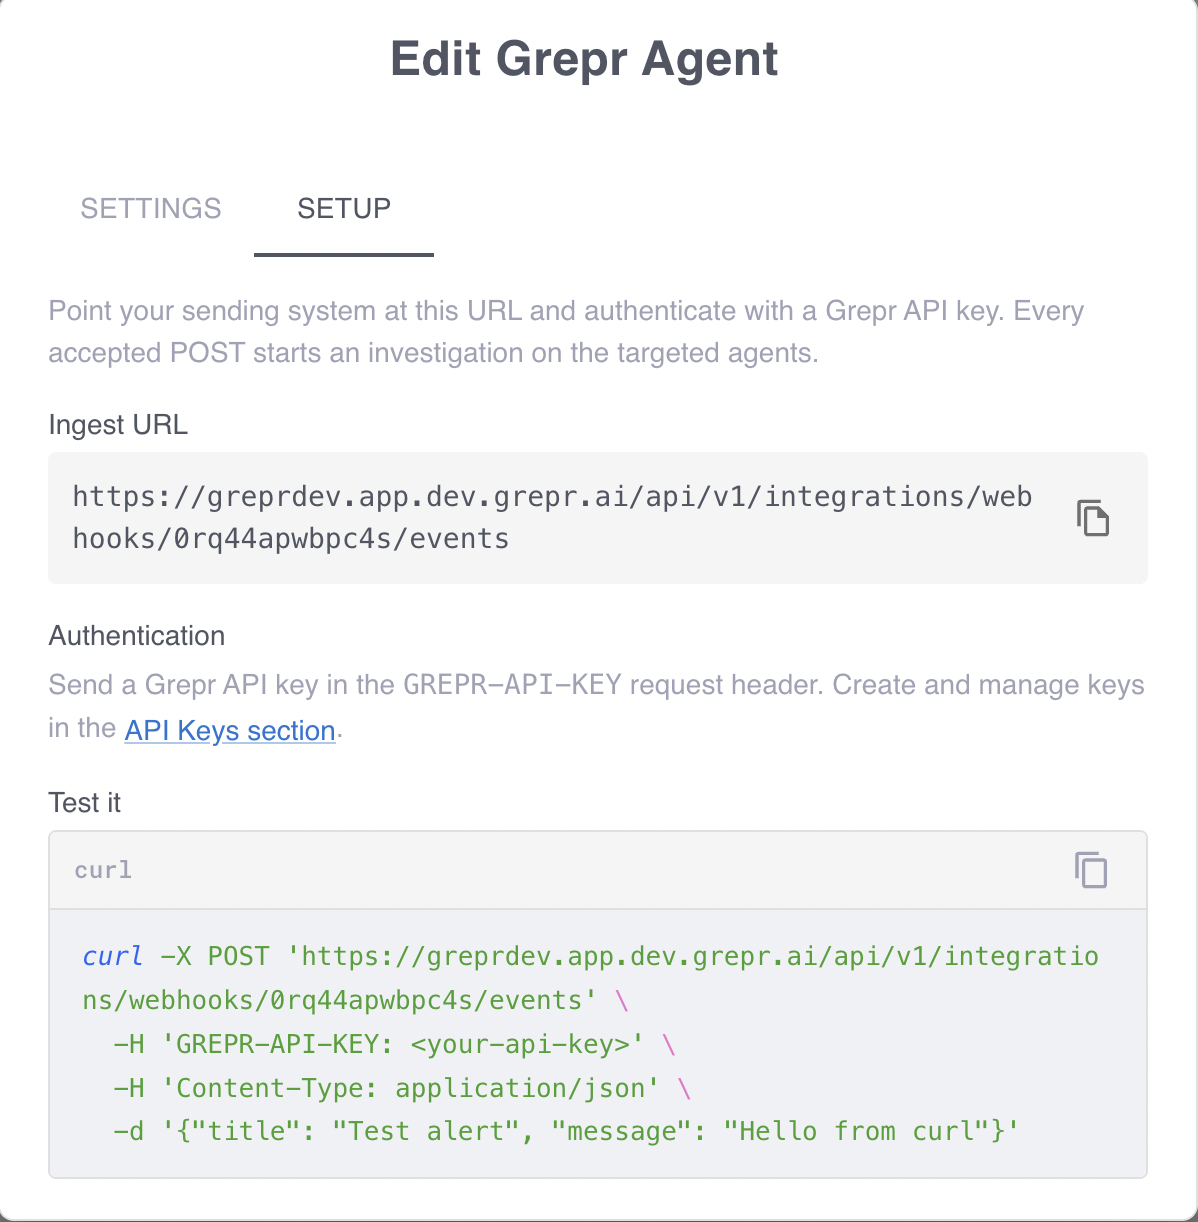
Send the event as the request body. The body is your payload, with no Grepr envelope around it:
curl -X POST \
  "https://<your-org>.app.grepr.ai/api/v1/integrations/webhooks/<integration-id>/events" \
  -H "GREPR-API-KEY: <your-api-key>" \
  -H "Content-Type: application/json" \
  -d '{
    "alert_id": "abc123",
    "alert_title": "5xx rate high on checkout",
    "priority": "P2",
    "service": "checkout",
    "env": "prod"
  }'
Grepr returns 202 Accepted after it submits the event to every subscribed agent without a failure. The responses are:
| Status | Meaning |
|---|---|
202 | The event was submitted to every subscribed agent. The body lists the investigation identifiers. |
400 | The body is not valid JSON. |
401 | The API key is missing or not valid. |
404 | No integration matches the id in the URL. |
409 | The integration has no agent that can be started. Subscribe an agent. |
413 | The body is larger than the 262,144 character limit. |
503 | At least one agent could not be started, for a reason that might not persist. |
A 202 can still include agents that were not investigated. An agent at its concurrency limit with a queueing policy of discard drops the event deliberately, which is a decision rather than a failure, so the event is not resubmitted.
Subscribe an agent before you point a production system at the URL. An integration with no subscribed agents rejects every event with 409 rather than accepting it and doing nothing.
Retry safely
Retry on 503 and nothing else. A 503 means at least one agent could not be started, so the event is lost for that agent if you drop it.
Retrying a 503 can also duplicate work, because a 503 is returned even when some of the subscribed agents did start. Those agents are submitted again on the retry, and Grepr does not deduplicate events. There is no response that distinguishes the two cases, so weigh losing an event against investigating it twice, and prefer retrying when the agent’s conclusions are cheap to read and the event matters.
To clear duplicates, cancel them in bulk from the agent’s Investigations step. See Cancel.
Subscribe an agent
An integration on its own does nothing. To have an agent investigate the events it receives, subscribe that agent to the integration from the agent’s Subscriptions step. To learn more, see Subscribe an agent to a Grepr Agent integration.
Grant team access
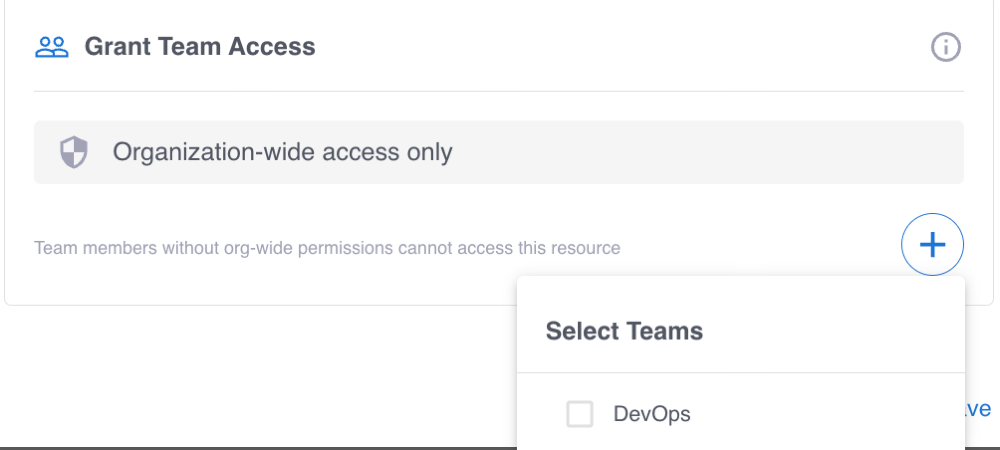
When you have teams in your Grepr organization, you can grant access to the integration to one or more of those teams. To configure team access when you create or edit an integration:
-
In the Grant Team Access section, click the plus sign icon (+).
-
Select the team or teams that should be granted access to the integration.
-
Click Create.
To learn more, see Manage teams in the Grepr platform and Permissions in the Grepr platform.